Setting Text Overlay Preferences
Use the text overlay preferences to choose what information you would like to display and where it will appear in the viewport. Each modality has a default configuration, which can be restored at any time.
To set text overlay preferences:
- From the main menu, choose Utilities | User Preferences (Ctrl+U).
-
Choose the modality whose preferences you want to set, and then click the Text Overlay tab.
By default, each modality is pre-configured to display a logical set of text overlay information.
-
To add overlay elements, click the required element in the Available Overlay Elements box and then do one of the following:
- Drag it to the required display location.
- Click the Add arrow that corresponds to the required display location.
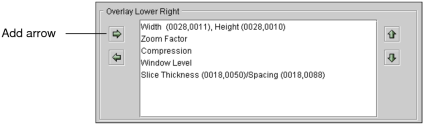
The overlay element is added to the list, and appears in the text overlay at the selected location.
-
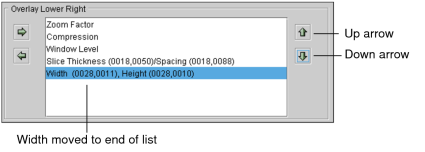
To change the order in which the elements are displayed, click an element and drag it to the new position or click the up and down arrows.
-
To remove an overlay element, click the element, and then click the Remove arrow or drag it back to the Available Overlay Elements box.
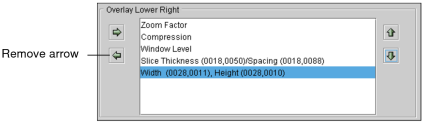
The element is removed from the display location, and appears in the Available Overlay Elements box.
- Repeat steps 3 and 4 as required.
-
To suppress the display of overlay entries that have no information, select Hide Overlay Elements With No DICOM Values.
If this option is deactivated, a dash appears for elements with no DICOM information.
- Click Apply to save your changes, or click OK to save your changes and close the User Preferences dialog.
- To reset overlay elements to their original locations, click Restore Defaults.


