Customizing Individual Print Settings
For any print job, you can choose to customize the settings as required. The settings available for a printer are determined by the configuration of the printer parameters therefore you may not have the ability to modify all of the options listed here.
You can save your customized settings as a print protocol, so that you can quickly apply them later.
To choose print settings:
-
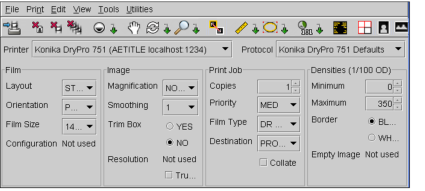
In the Print Film dialog, click the Film Print Protocol Settings icon
 on
the toolbar.
on
the toolbar.The print protocol settings for the selected printer appear.
-
If required, choose another printer from the Printer list.
If you select a different printer, this printer will be used by default each time you print to film until you select another printer.
-
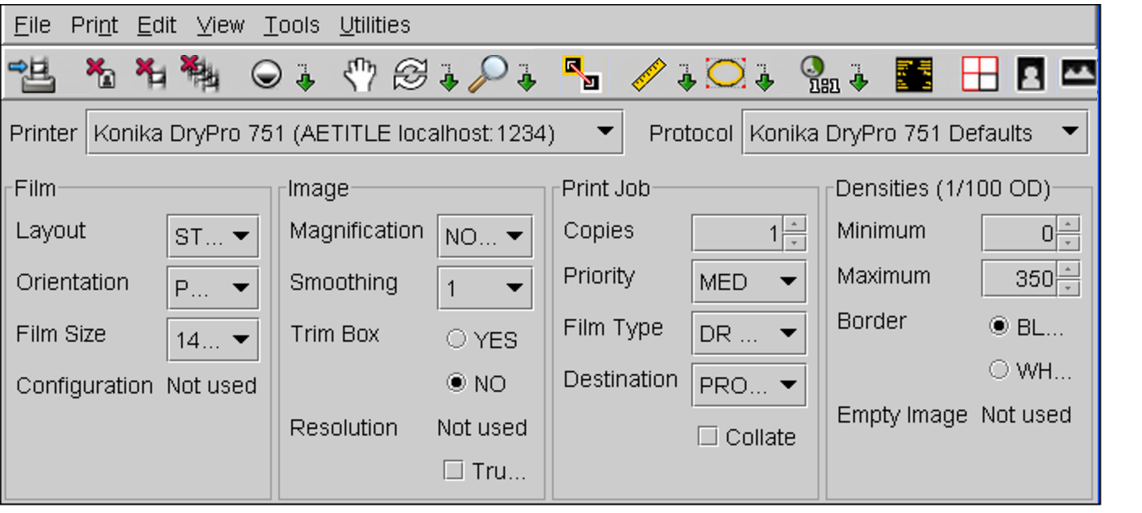
Configure the settings as required:
Setting
Option
Description
Film Settings
Layout
Specifies how many images will be printed on each film, and their layout, organized by rows and columns. For example, a 3 x 2 layout will print a total of six images on the film, organized in three rows and two columns.
Orientation
Specifies the orientation of the film. You can choose between landscape (horizontal) or portrait (vertical).
Film Size
Specifies the orientation of the film. You can choose between landscape (horizontal) or portrait (vertical).
Configuration Information
Identifies a set of specific parameters that apply to the selected printer. This setting can be any text that is meaningful to the printer.
Image Settings
Magnification
Interpolation type by which the printer magnifies or decimates the image in order to fit it in the image area on the film.
Smoothing
If Magnification is set to Cubic, this setting further specifies the type of interpolation to use.
Trim Box
Specifies whether a trim box shall be printed surrounding each image on the film.
Resolution
Specifies the density of printable pixels per inch of film.
True Size
Enables printing of life-size images (zoom of 100%). All images selected for the print job must be calibrated in order to use this option.
Print Job Settings
Copies
Specifies the number of prints required for each film in the print job.
Priority
Sends priority information to the printer, which may be used to order jobs in the queue (depending on the model of printer).
Film Type
Selects the type of medium on which the print job will be printed. For example, film type could include clear film or blue film.
Destination
Specifies the destination of the exposed film, for example, to a film magazine or processor.
Collate
Enables printing each set of films separately, in sequential order. If disabled, each film will be printed the number of times specified in the Copies field before printing the next one.
Densities Settings
Minimum
Sets the minimum density of the images on the film.
Maximum
Sets the maximum density of the images on the film.
Border
Sets the color and density of the border surrounding the images on the film.
Empty Image
Specifies the color and density of the image box area on the film that contains no image information.
- When finished, repeat step 1 to hide the protocol settings.
See Also