Changing the Film Size, Layout, and Orientation
You can quickly change the film size, layout, and orientation from the Print Film window toolbar. The film layout controls how many images will be displayed on each film for the current print job and how they will be organized on the page. The film orientation determines whether you will print in landscape or portrait format.
When you add images to the Print Film window, the initial film size, layout, and orientation is determined by the print protocol that was last used. However, you can change these settings at any time.
You can also change the film size, layout, and orientation by applying a print protocol.
To change the film size:
- Click Film Size
 in
the toolbar.
in
the toolbar. -
Select an option from the Film Size menu that appears.
The film size settings that are available are determined by the selected printer.
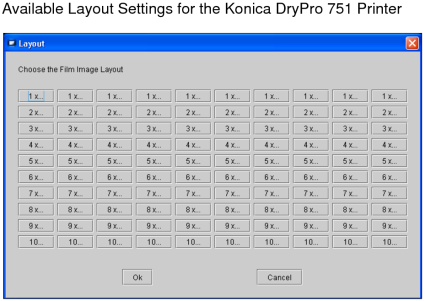
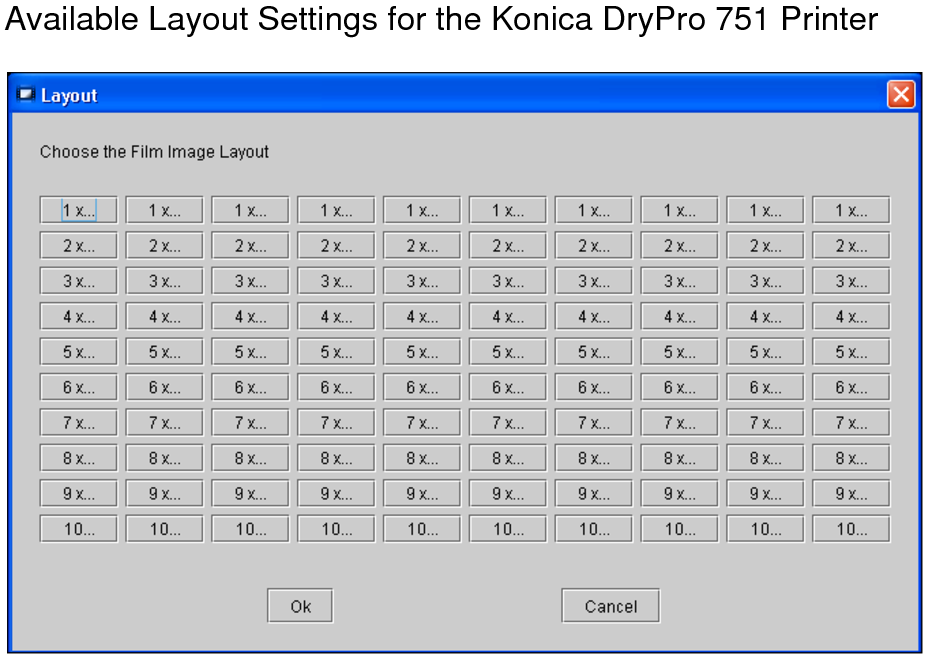
To change the film layout:
-
Click Film Layout
 in
the toolbar.
in
the toolbar.The Layout dialog appears. The layout settings that are available are determined by the selected printer.
-
Click the required layout icon.
The icons indicate the way in which multiple images on a film will appear, organized in columns and rows. For example, a 4 x 2 layout will display a total of eight images on each file, organized into four rows and two columns.
- Click OK.
To change the film orientation:
- To change to a landscape (horizontal) orientation,
click Landscape
 in
the toolbar.
in
the toolbar. - To change to a portrait (vertical) orientation, click
Portrait
 in
the toolbar.
in
the toolbar.