Adding and Removing Images from Teaching Cases
When viewing a study, you can quickly select important images and add them to the Teaching Case Editor to create a new case. A case can contain images from multiple studies from the same patient, but cannot include images from other patients.
Once you have added images, you can remove any unwanted images or clear the teaching case entirely.
Use teaching collections to group images from multiple patients together.
To add an image to a teaching case:
- Select the required image by clicking its viewport.
-
If required, manipulate the image, position and orient it in the viewport, adjust the window level, and apply measurement and annotation tools.
You can also do this later in the Teaching Case Editor.
-
Do one of the following:
- From the main menu, choose Tools | Add Teaching Case Image.
- Use the shortcut keys Ctrl+Spacebar.
- From the toolbar, click the Add Teaching Case Image tool
 .
.
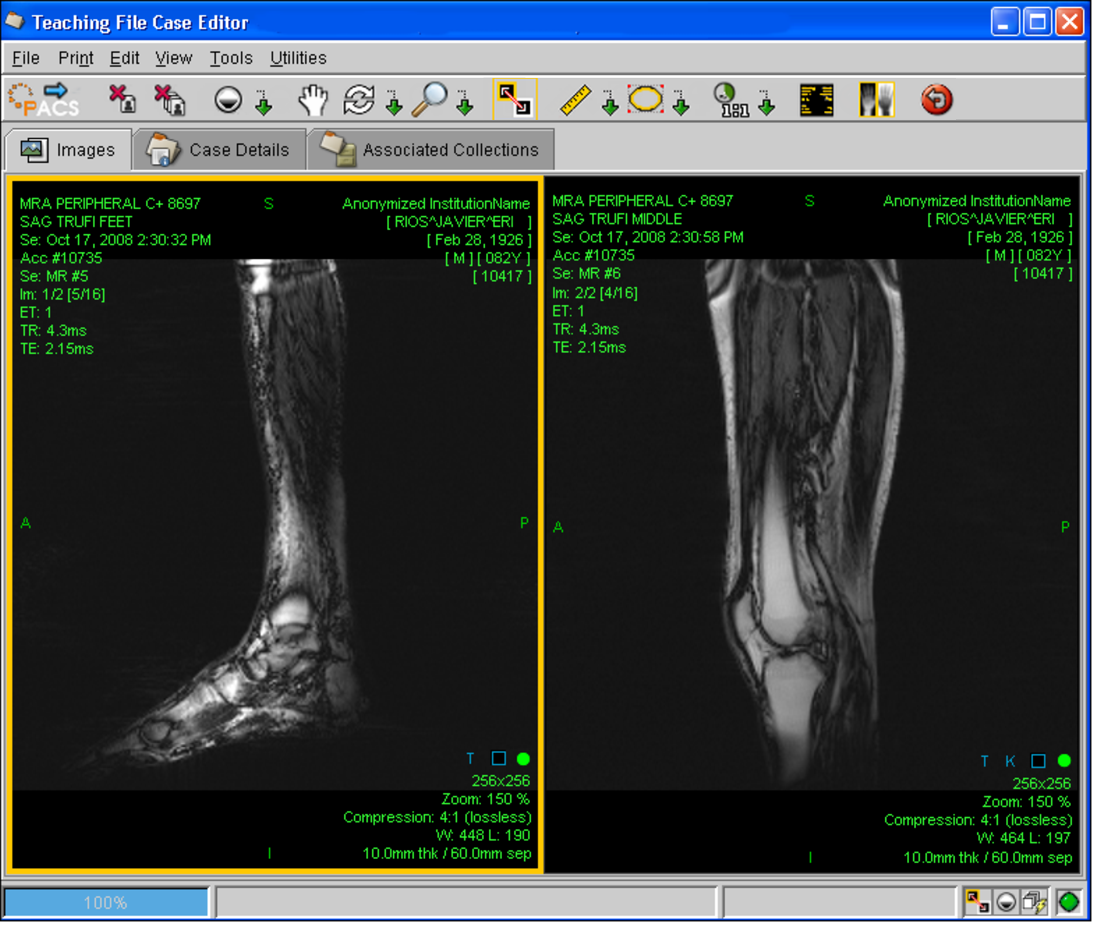
A teaching case is created containing the selected image. A teaching case indicator “T” appears in the text overlay to indicate that the image has been added.
The teaching case indicator in the text overlay is removed when you either delete the image or save the teaching case.
-
To add other images to the teaching case, repeat steps 1 to 3 as required.
If you have unsaved teaching case images when you try to exit InteleViewer, you must choose to either save or discard these images before exiting.
-
To view the teaching case, choose Tools | Show Teaching Case Editor (F) or click Show Teaching Case Editor
 .
.The Teaching Case Editor opens, and the images you selected appear in the viewports. Any image manipulations or measurements and annotations that you added also appear.

- To continue to add images, return to the InteleViewer window and repeat steps 1 to 3, as required.
To remove a selected image:
- In the Teaching Case Editor, click the image that you want to remove to select it.
-
From the toolbar, click Remove Teaching Case Image
 .
.The image is removed from the case.
To remove all images:
- In the Teaching Case Editor toolbar, click Remove
All Teaching Case Images
 .
. -
Click Yes in the confirmation dialog that appears.
All images are removed from the case.
See Also