Exporting a Report to a PDF File from InteleViewer
To export a report to a PDF file:
-
Select the study whose report you want to export.
If you want to export key images, keep in mind that you can export them only from the selected study. To export them from another study, you will have to close the Report Viewer, select the appropriate study, and open the Report Viewer again.
-
Do one of the following:
- From the InteleViewer main menu, choose File | Export Report to PDF.
- From the Report Viewer, click the Export to PDF button or choose File | Export to PDF from the Report Viewer menu.
The Export PDF Report(s) dialog appears.
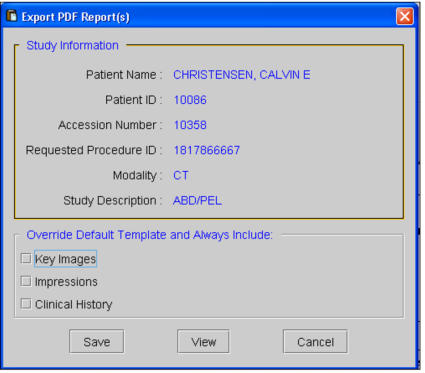
If you use grouped procedures in your workflow, the requested procedure ID also appears in the Study Information to identify the report.
-
Set the export options, as required:
Enable:
To:
Key Images
Add key images to the PDF file.
Impressions
Add information from the Impressions panel to the PDF file.
Clinical History
Add information from the Clinical History panel to the PDF file.
If you disable Key Images and the default template supports key images, then key images will appear in the PDF file.
-
To preview the PDF file, click View.
The PDF file is created and automatically opens in Adobe Reader.
-
Click Save in the Export PDF Reports dialog.
If you are previewing the file, you can also save it by using Adobe Reader. To do so, choose File | Save As, or press Shift+Ctrl+S.
-
Navigate to the location where you want to save the PDF file, enter a filename, and then click Save.
The report is saved to the specified PDF file, and can be printed, sent by email or fax, or otherwise used as you would with any other PDF file.
The study that was selected in the List of Orders is displayed first in the generated PDF file, followed by the other studies in the list, in order of their displayed position.
