Creating Window Level Presets
You can define window level presets. A window level preset is a pre-defined window level setting that you can apply automatically by using an associated keyboard shortcut. Use window level presets to define one or more window level settings and associate them with particular keys on the keyboard. You can then quickly apply a preset by using the keyboard shortcut. You can create, modify, and delete presets, as required.
To create window level presets:
- From the main menu, choose Utilities | User Preferences (Ctrl+U).
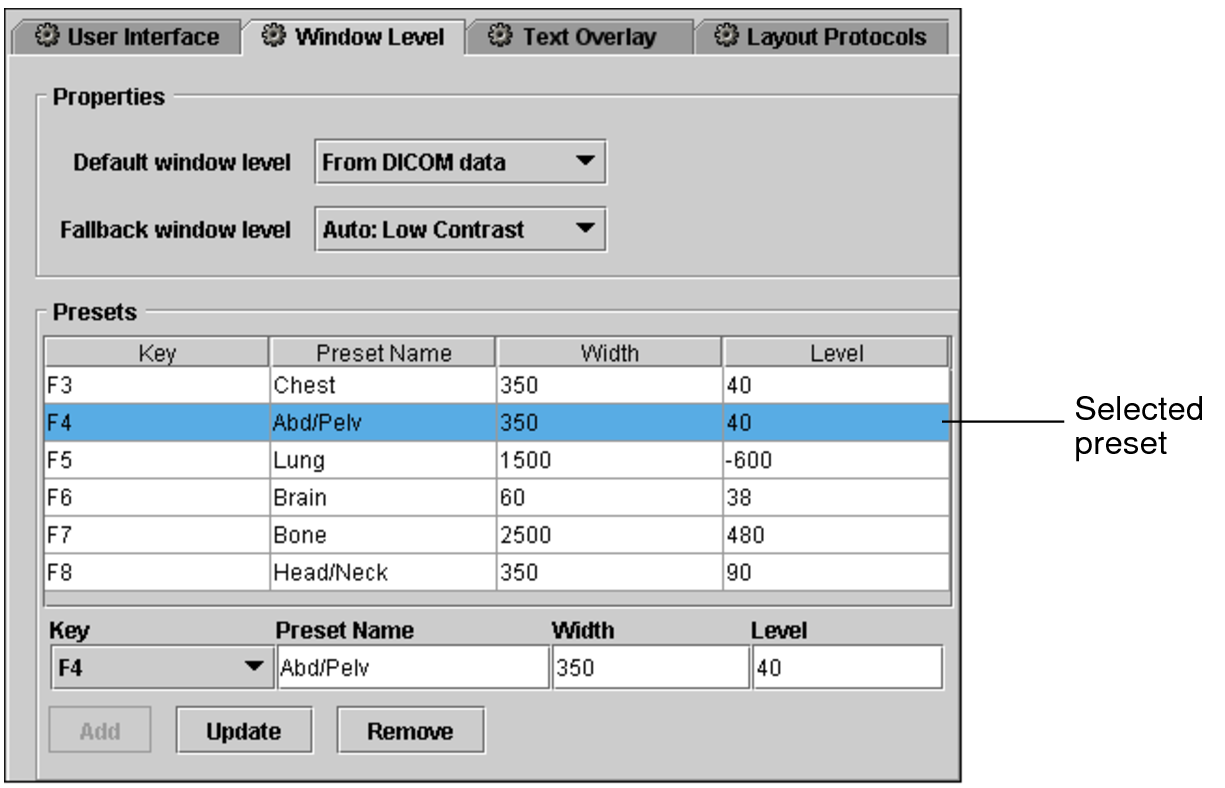
- Choose the modality whose preferences you want to set, and then click the Window Level tab.
-
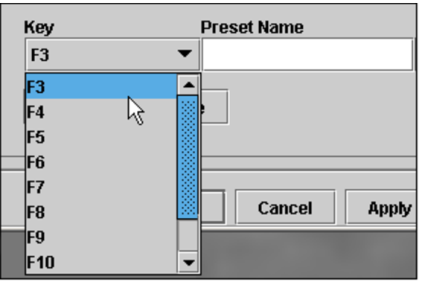
Scroll to the bottom of the window and then select a keyboard shortcut from the Key list.
-
In the Preset Name field, enter a name that reflects the intended use of the preset.
The Add button becomes active.
- Enter the width and level settings in the corresponding fields.
-
Click Add.
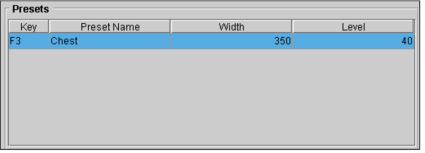
The new preset is added to the list.
- Click Apply to save the new preset.

To modify window level presets:
- From the main menu, choose Utilities | User Preferences (Ctrl+U).
- Choose the modality whose preferences you want to set, and then click the Window Level tab.
-
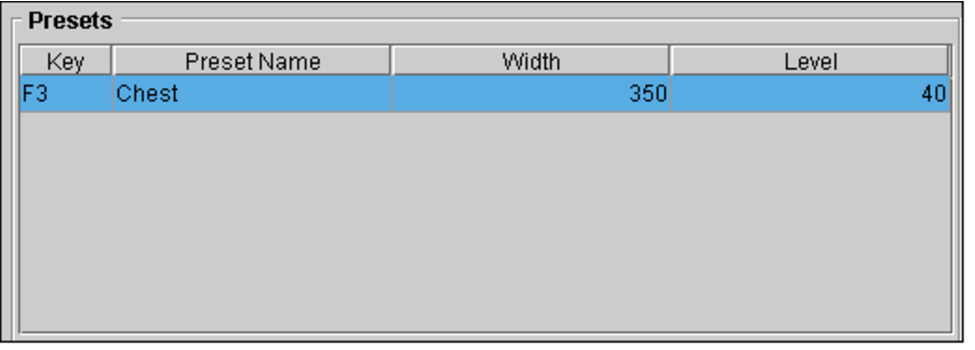
Select the preset that you want to modify.

-
Do the following, as required:
- Enter a new name in the Preset Name field.
- Enter new width and level settings in the corresponding fields.
- From the Key list, choose the keyboard shortcut to associate with the preset.
You cannot select a key that is already in use.
-
Click Update.
The preset is updated to reflect your changes.
- Click Apply to save your changes.
To delete window level presets:
- From the main menu, choose Utilities | User Preferences (Ctrl+U).
- Choose the modality whose preferences you want to set, and then click the Window Level Presets tab.
- Select the preset that you want to delete.
- Click Remove.
-
Click Apply.
The preset is deleted.