Creating Profiles
You can quickly create several profiles by copying them and then editing the required preferences in the User Preferences dialog or customizing your tools.
Once a profile is created, it cannot be renamed.
To create a profile:
-
From the main menu, choose Utilities | Manage Profiles.
The Manage Profiles dialog appears.

-
Do one of the following:
- To create a general profile, select an existing general profile from the General Profiles list, and then click Clone.
- To create a layout profile, select an existing layout profile from the Layout Profiles list, and then click Clone.
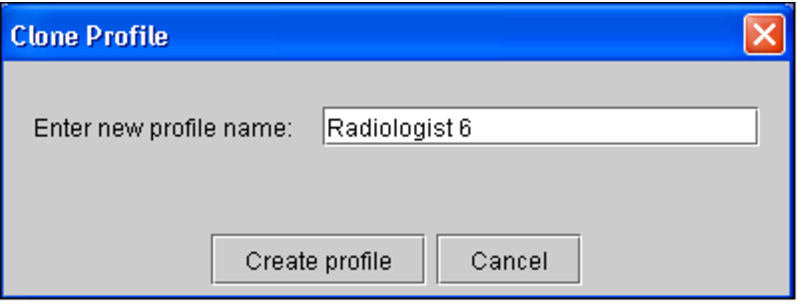
The Clone Profile dialog appears.

-
Enter a descriptive name for the profile that clearly identifies it. You can enter a maximum of 60 alphanumeric characters, spaces, and dashes (-).
Profile names must be unique. If you try to create a profile with a name that already exists, a warning will appear as soon as you enter the name.
-
Click Create Profile.
The new profile name appears in the General Profiles or Layout Profiles list.
You can see the name of the profile template that the profile is backed on by hovering the mouse cursor over the profile name; it appears on a tooltip.
To use this profile as your current profile, you need to manually apply the profile after it is created. See Applying Profiles.