Opening Teaching Cases
Use the Teaching Case Viewer to view teaching cases and associated case details at a glance. The available tools in the Teaching Case Viewer allow you to manipulate images as you would normally in InteleViewer. For example, you can zoom, adjust the window level, and apply measurement and annotation tools. You can also view additional teaching cases without disturbing your pre-existing work by opening them in a new window.
To view a teaching case:
- Search for the teaching case you want to view. See Searching for Teaching Cases and Collections.
-
Do one of the following:
- Right-click the required case and choose View Selected Case.
- Double-click the required case.
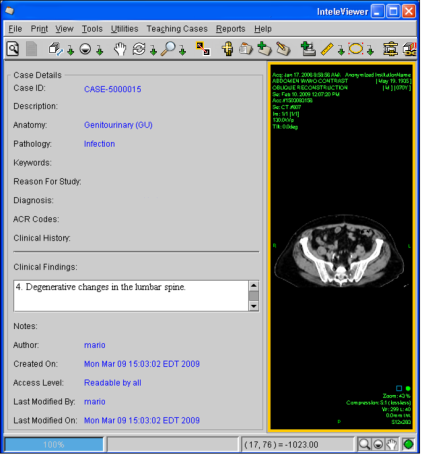
The teaching case opens in the Teaching Case Viewer. The associated case details appear beside the image.
- To display or hide the case details, choose View | Show
Teaching Case Details or click Show Teaching Case Details
 .
. -
Manipulate the images as required. For example, you can zoom, adjust the window level, and position and orient the images in the viewport.
These changes cannot be saved. To save your changes, you must make your changes in the Teaching Case Editor. For more information, see Editing Teaching Cases.
- To view the patient’s related studies, choose the required study from the Teaching Cases menu.
-
To view additional teaching cases, repeat step 1, then right-click the case and do one of the following:
- To replace the current teaching case with the new one, select View Selected Case. You can also double-click the case.
- To open the selected case in a new window, select View Selected Case In New Window.
You can have only one case open at a time in the Teaching Case Viewer.

To close a teaching case:
- Choose File | Close Teaching Case.