Creating Arrow Annotations
Create and edit arrow annotations and text labels to draw attention to portions of the image.
To create an arrow annotation:
- Select the image that you want to annotate.
-
Click the Arrow Annotation tool
 .
.The cursor indicates that the arrow annotation tool is active.
-
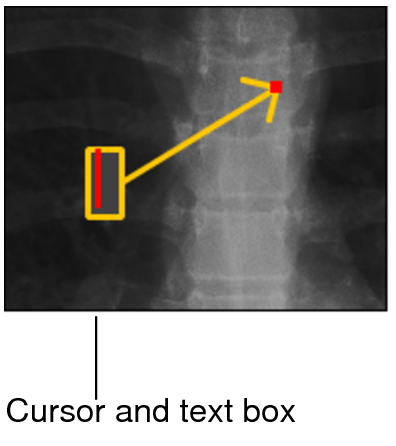
Click at the starting point of your arrow (the tail) and drag. Release the mouse button at the end of the arrow.
The arrow annotation appears on the image and a cursor and text box appears.
-
To add a label to the arrow, enter the required text.
You are not required to add labels to arrow annotations.
-
Press Esc or click the left mouse button anywhere in the application window.
The arrow annotation appears on the image. If you added a text label, it appears at the base of the arrow.
- Repeat steps 3 to 5 for each annotation you want to make.

To modify an arrow annotation:
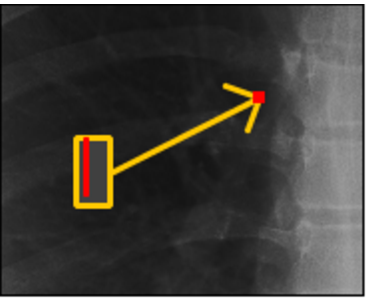
- Click an arrow to select it.
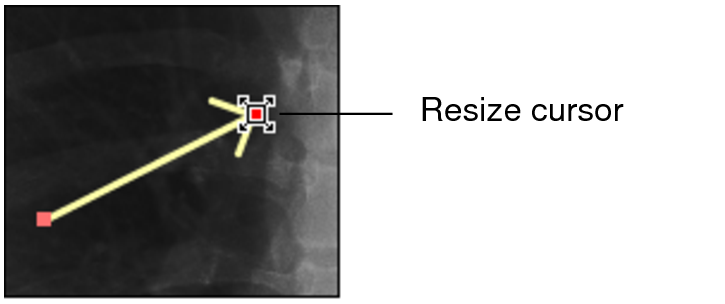
-
To adjust the angle or resize the arrow, place the cursor over the head or tail. When the resize cursor appears, click and drag.

-
To modify the label text, double-click the text and when the cursor text box appears, edit as required.

-
To change the position of the label, place your cursor over the label that you want to move.
The move cursor
 appears.
The label is linked to the base of the arrow no matter where you place it in the viewport. If you move or reposition the arrow, the label will follow.